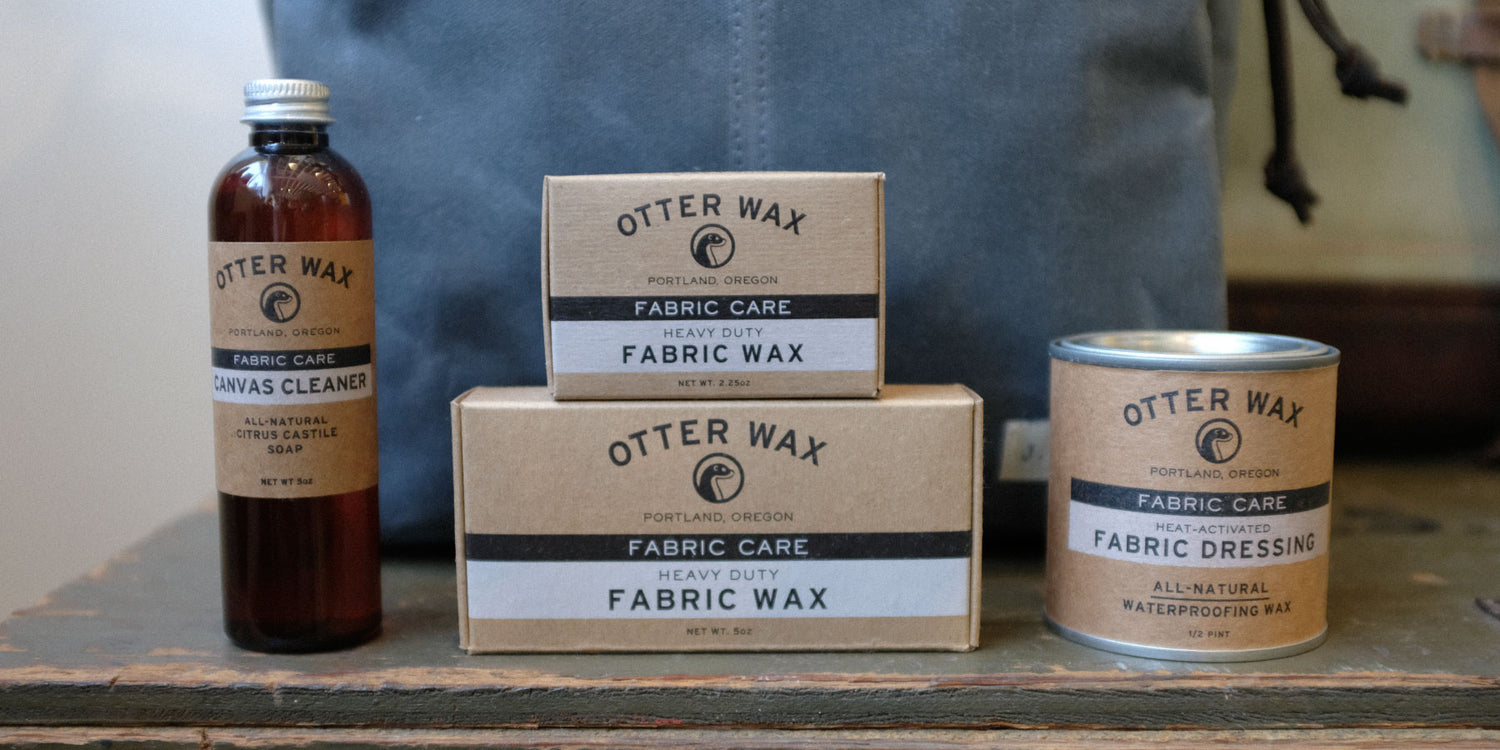
Over time waxed canvas will lose its water repellency, but unlike cheaper, synthetic materials, you can make it waterproof again with a little bit of care and elbow grease. When it’s time to touch up the finish on your bag, or clean it after a few too many months of heavy use, Otter Wax makes the best tools to bring your bag back to life. Below are two different walkthroughs for both their Fabric Wax Bar, and their Heat Activated Fabric Dressing. Two different ways to accomplish the same thing, waterproof your canvas.
Reproofing with Otter Wax’s Fabric Wax Bar
This will give you more of a rustic appearance, with the wax sitting closer to the surface of the fabric. Best suited for accessories or duck canvas jackets.
- Brush off any surface dirt and dust from your bag with a sturdy, natural bristle brush.
- For tougher spots, or grime that has settled into your bag, use a touch of Otterwax’s Canvas Cleaner and their Tampico Cleaning Brush. Allow the bag to completely dry before proceeding.
- Using the bar of Fabric Wax and elbow grease, evenly apply the wax throughout the bag, paying close attention to any seams. If you went a little too heavy in a few spots, don't panic, the next step will help with that.
- Take a heat gun or blow dryer and melt the wax into the bag. It helps to use the Wax Smoothing Tool, or your free hand to push the wax into harder to reach areas (seams, around leather straps, buttons)
- Allow the bag to settle for 12-36 hours in a warm, dry room. If possible, hang the item to keep any wax from settling into the surface you set it, making clean up a lot easier.
Reproofing with Otter Wax’s Heat Activated Fabric Dressing
This will give you a smooth, factory fresh look, with the wax permeating deeper into the fabric. More suitable for thin, smooth fabrics like the tops of our backpacks or Barbour Jackets.
- Brush off any surface dirt and dust from your bag with a sturdy, natural bristle brush. If you have a horsehair brush from a pair of leather boots or dress shoes, use that.
- For tougher spots, or mud that has settled into your item, use Otterwax’s Canvas Cleaner and their Tampico Cleaning Brush. Allow the bag to completely dry before proceeding.
- Melt the Heat Activated Fabric Dressing in a small pot of water on the stove. Allow the wax to cool off slightly before using, use your head when it comes to dealing with boiling water. For those without a stove top, I have also seen people using a heat gun or blowdryer to melt the wax slowly and perhaps more safely.
- Using either a paintbrush, or an old tee shirt wrapped around your fingers, evenly spread the wax over the item.
- Be wary of over waxing, use just enough to be absorbed by the fibers. This will ensure you get a smoother, less chalky finish once complete.
- Using either a heat gun or blow dryer help settle the wax into the bag. It helps to use the Wax Smoothing Tool, or your free hand to push the wax into harder to reach areas (seams, around leather straps, buttons), the wax could be warmer than expected, use caution.
- Allow the item to settle for 12-36 hours in a warm, dry room. If possible, hang the item to keep any wax from settling into the surface you set it, making clean up a lot easier.
If you have any questions, let us know how we can help.


